
 العربية
 Deutsch
 English
 Español
 Français
 हिन्दी
 Indonesia
 Italiano
 日本語
 한국어
 Nederlands
 Português
 Türkçe
 中文
Review date: 12 November 2026. This guide is published by the SVT developer and was checked against the cited documentation and relevant application source.
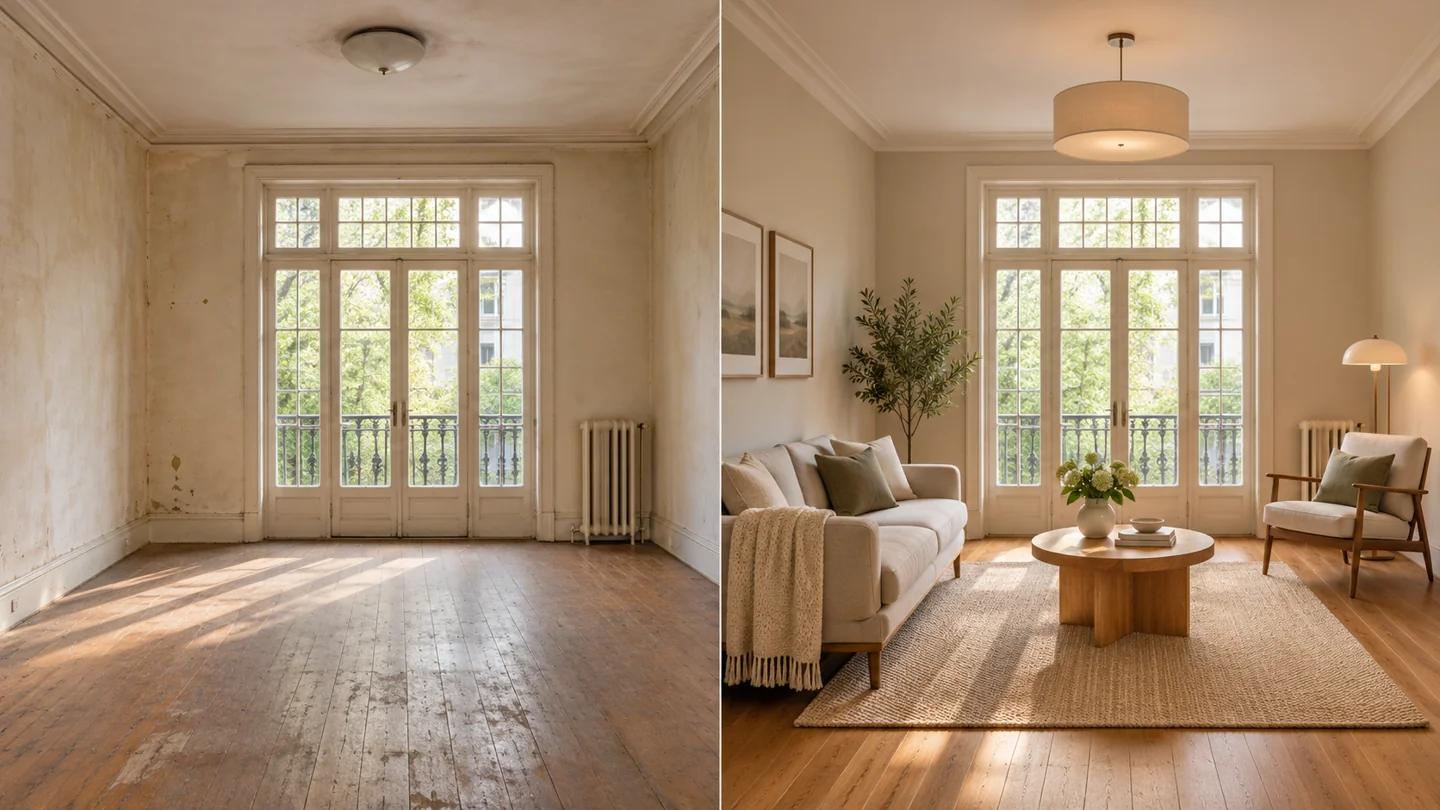
A clear before-and-after renovation tour starts with the same viewpoint, not with a dramatic edit. Capture the original space, capture the finished space from as close to the same position and height as possible, and keep both versions clearly labeled so visitors can compare them without guessing what changed. If you use AI-assisted visuals, treat them as a separate visualization layer, not as a replacement for the documented scene.
Method note: This article is based on documentation review and source inspection only; it does not report hands-on testing.
The simplest structure is to build two linked scenes inside one tour: one room for Before Renovation and one room for After Renovation. In Simple Virtual Tour, that means creating the tour first, then adding each panorama as its own room, and finally connecting or labeling them so the visitor can move between them in a controlled way. See how to create a virtual tour, how to create a room panorama, and how to connect rooms in a tour.
1) Capture the same scene twice, as consistently as possible
For a meaningful comparison, the “before” and “after” images should be taken from the same viewpoint, at the same approximate height, and with the same viewing direction. That makes the renovation read as a change in the space, not as a change in camera placement. The underlying image should still be a standard full-sphere equirectangular panorama; in practice, that means a full 360×180 capture rather than a partial panorama.
If you are shooting the source material yourself, keep the capture workflow steady: level the camera, use a consistent tripod height, and review seams, reflections, and exposure differences before you build the tour. The point is to preserve the original scene first, then decide how much presentation polish is appropriate later. For background on the image format and capture approach, see how to create 360-degree photos.
When the renovation includes a room with major structural changes, repeat the capture from the same corner or center point after the work is finished. If the layout changed enough that a perfect match is impossible, keep the label honest. For example, “Same room, repainted and reconfigured” is more useful than implying an exact one-to-one visual match that does not exist.
2) Build the comparison as separate rooms, not a single blended image
Do not merge the old and new versions into one confusing panorama unless your audience specifically needs a visual composite. A tour is easier to understand when each state is its own room, with a visible path between them. In the editor, add each panorama as a room, then use markers to connect the scenes so visitors can move from the original condition to the renovated condition.
That works especially well when the renovation spans several spaces. For example, you can create one room for the kitchen before work starts, another room for the kitchen after completion, and similar pairs for the living room, hallway, or balcony. If you use floor plans or maps, those can help visitors understand where each pair belongs in the property. See how to add floorplans and the internal explanation of floor plans and maps.
In the same tour, the floor plan should point to rooms, not generic points of interest. That keeps the comparison grounded in the actual space rather than in decorative markers. When you assign room positions on the map, visitors can see that the “before” and “after” scenes refer to the same location even if the visuals are very different.
3) Label the states clearly and keep the original visible
Use the room name, intro text, or a nearby marker label to make the comparison explicit. Good labels are short and functional: “Before renovation,” “After renovation,” “Existing layout,” or “Completed finish.” The key is consistency. If a visitor lands directly in one scene, the label should immediately tell them whether they are looking at the original condition or the final result.
Keep the original capture available even when the renovated version is more polished. That helps the tour serve as documentation as well as presentation. If you use image enhancement or AI-assisted cleanup, do not present the edited image as if it were the unaltered capture. A renovation tour benefits from clarity, not from ambiguity about what was actually photographed.
You can use markers between the rooms to guide visitors through the story. A marker from the original room to the finished room can act as a simple “see the result” jump, while a return marker can bring the visitor back to the original state. See the documented room-linking workflow in how to connect rooms in a tour.
4) If you use AI visuals, separate them from the original record
AI features can be useful for presentation, but they should not blur the line between an actual capture and a visualized concept. In Simple Virtual Tour, AI Panorama Editor is available as a separate feature, so it is better treated as a supporting tool rather than the basis for the factual comparison. Use it when you need to refine presentation, not when you need to replace the true before-and-after record.
A practical pattern is:
- Room 1: original capture, labeled “Before renovation”
- Room 2: finished capture, labeled “After renovation”
- Optional supporting scene: AI-assisted presentation view, clearly identified as such
If the renovation is still in planning, an AI visualization can be a useful concept preview, but it should remain distinct from the documented finished photograph. That distinction matters because viewers need to know whether they are seeing a captured result or a generated preview.
For a tour that will later be published or embedded, the same organizational logic still applies. The visitor link is managed in the tour’s Publish area, and the embed is separate from the editor login. See how to publish a tour and how to add logo to the tour if you also want to keep branding consistent across the viewer.
5) Present the comparison with the right tour structure
If the renovation story is part of a larger property walkthrough, consider combining the before-and-after pair with a broader tour structure. For example, the kitchen comparison can sit alongside adjacent rooms, while the floor plan shows how the space relates to the rest of the property. That approach works well for real estate, architecture, design portfolios, and contractor case presentations.
Useful companion guides include how to build interactive virtual tours, virtual tour hotspots, and how to embed a virtual tour on a website. If the renovation is part of a lead-generation page, you can also connect it to lead capture so visitors can ask for more information without leaving the tour.
The best before-and-after renovation tours are straightforward: capture honestly, label clearly, separate the scenes, and let visitors move between them through a controlled tour structure. That gives the comparison context without forcing the viewer to decode it on their own.